Canadian Owned |

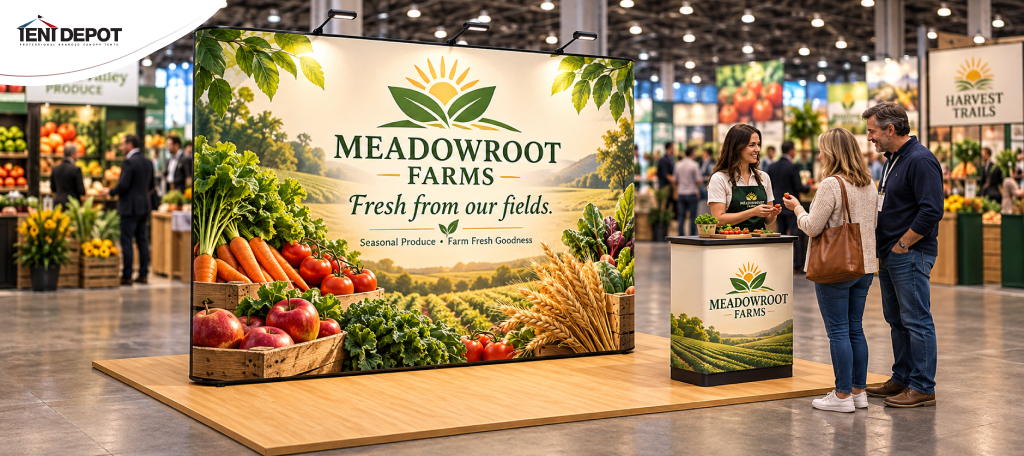
Your first farmers market booth doesn't need expensive fixtures or a complicated layout. It needs to make three things easy: finding your stall, understanding your products, and making a purchase.
Good farmers market booth planning starts with knowing your space, choosing practical equipment, and arranging products around how customers shop. Here's how to prepare a functional, professional stall for Canadian outdoor markets.
Popular Product

|
|
|
1. Confirm Your Market's Rules Before Buying Equipment
Before ordering a tent or display furniture, ask the organizer about your allocated space and setup requirements.
Check these details:
- Booth footprint: Is your space 10×10 feet, or are larger configurations permitted? Share your requirements with the organizer if you're unsure.
- Tent anchoring: Are ground stakes allowed, or are weights required to secure the canopy against wind?
- Food regulations: Do your products require public health approval, temperature control, or handwashing facilities? Confirm the necessary preparations with the organizer.
- Arrival logistics: Where can you unload, and when must vehicles leave?
Also confirm electricity access, insurance requirements, and any restrictions on signage extending into walkways.
These details prevent you from purchasing equipment that won't fit or isn't permitted. Keep printed copies of your vendor permits, applicable local licences, cottage food certificates where relevant, and liability insurance documents.
2. Choose a Canopy That Works Beyond Your First Market
A farmers market canopy tent provides overhead coverage, defines your selling space, and gives customers a clear way to identify your business.
A 10×10-foot canopy is a practical starting point for vendors using one or two tables. Larger setups may benefit from 10×15 or 10×20 configurations, provided the organizer allows them.
When comparing options, prioritize:
- Folding frames: Choose aluminium or steel based on weight, transport, and repeated setup needs.
- Printed valances: Position your business name above eye level, where shoppers can identify your stall from the aisle.
- Compatible sidewalls: Add a back wall for branding or storage screening without unnecessarily enclosing the entire booth.
- Transport accessories: A wheeled case makes moving equipment between parking and your stall easier.
Explore custom canopy tents at Tent Depot to compare available sizes, printing options, and accessories.
3. Design Your Layout Around Customer Movement
The best farmers market booth setup isn't necessarily the one displaying the most products. It's the one customers can shop without confusion.
For a 10×10 stall, consider an L-shaped arrangement: one table across the back and another along the side. This creates a defined product area while leaving room for staff and checkout.
Use three display levels:
- Front: Bestsellers, seasonal products, and clear price tags.
- Middle: Main inventory organized by variety or category.
- Back: Elevated products, business signage, and accessible restocking supplies.
Keep heavy products low and use sturdy risers rather than unstable stacked boxes.
For a bakery, group pastries by type instead of mixing everything together.
Practical tip: Photograph your setup from the aisle during a trial run. If your prices disappear behind baskets or your business name is hidden, rearrange before market day.
4. Make Your Signage Answer Buying Questions
Good farmers market signage ideas start with information customers need, not decorative slogans.
Your stall should communicate your business name, what you sell, and the price without requiring a conversation.
A printed canopy identifies your business from a distance. A custom table cover gives your checkout area a coordinated appearance while concealing supplies stored underneath.
Use individual price cards for products that vary by weight, size, or quantity. If you offer bundles, display the exact contents and price.
Avoid placing several competing messages on the canopy. Your business name should remain the easiest element to read.
5. Pack Inventory Based on How Products Sell
For your first market, don't try to bring every product you make.
Choose a focused assortment with clear differences in price, size, or purpose. This makes purchasing easier and helps you identify what customers prefer.
Consider three product roles:
- Entry-level products: Affordable items customers can purchase without much deliberation.
- Core products: Your main selection and expected sales drivers.
- Higher-value options: Larger sizes, gift bundles, or specialty products.
Keep backup stock organized beneath or behind the display rather than crowding every surface.
After the event, record what sold, what remained, and which products attracted questions. Use those observations to adjust your next inventory order.
6. Prepare for Canadian Outdoor Market Conditions
Outdoor market stall planning should account for more than the forecast temperature.
Morning condensation can affect packaging, wind can move lightweight, high-visibility signage, and afternoon sunlight may reach products that started the day in shade.
Outdoor Market Safety Checklist
- Anchor your canopy: Use approved weights or stakes on every leg.
- Check wind limits: Follow the manufacturer's safety guidelines.
- Secure displays: Prevent signs, shelves, and lightweight items from tipping.
- Protect inventory: Keep products and electrical equipment away from moisture.
- Monitor weather: Watch for sudden wind, heavy rain, or thunderstorms.
- Know when to close: Take down your canopy when conditions become unsafe.
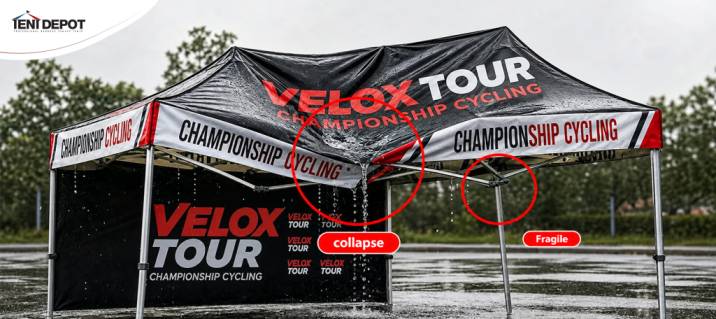
Never operate a canopy in unsafe weather conditions. Follow the manufacturer's guidance and the market organizer's safety requirements.
7. Use This Farmers Market Vendor Checklist
Pack equipment in the order you'll need it. Tent hardware should be accessible first, followed by packaging and checkout supplies.
| Category | Essentials |
|---|---|
| Shelter | Canopy, frame, approved anchors |
| Display | Tables, covers, risers, price cards |
| Products | Inventory, backup stock, packaging |
| Checkout | Card reader, cash float, power bank |
| Operations | Vendor documents, cleaning supplies, rubbish bags |
| Backup | Clips, tape, spare labels, weather coverings |
8. Rehearse Your Setup Before Market Day
Assemble your canopy, arrange the tables, and test your checkout position before the event.
Measure how long setup takes, check that equipment fits your vehicle, and confirm you can access stock without moving display furniture.
This rehearsal also reveals missing hardware, awkward product placement, and signage that's difficult to read.
Prepare Your Market Booth With Tent Depot
Your first market setup should be easy to transport, quick to organize, and practical for customers to shop.
Explore custom canopy tents and market display accessories at Tent Depot to choose a setup that fits your products, allocated space, and future events.
Frequently Asked Questions
What size tent is best for a first farmers market?
A 10×10-foot canopy works for many vendors with compact product displays. Confirm the market's permitted dimensions before ordering.
Should I invest in a branded canopy?
If you plan to attend multiple markets, a printed canopy can replace separate overhead signage and provide consistent branding across events.
What display accessories are most useful?
Start with a fitted table cover, readable price cards, stable product risers, and appropriate tent anchors. Add flags or sidewalls only when your space and event requirements justify them.